Debian7 编译WizNote Qt Project(为知笔记)
Debian 编译为知笔记, 中间的心酸过程我就不吐槽了。 作为一名不会c++ & QT 的,编译 为知笔记 ,的确不是个容易的事啊。。
编译步骤:
- 已经写了,如何从github 上面 clone 为知笔记 客户端到本地。
- 切换到最新的分支
git checkout testing
准备编译环境
安装编译工具
sudo apt-get install build-essential
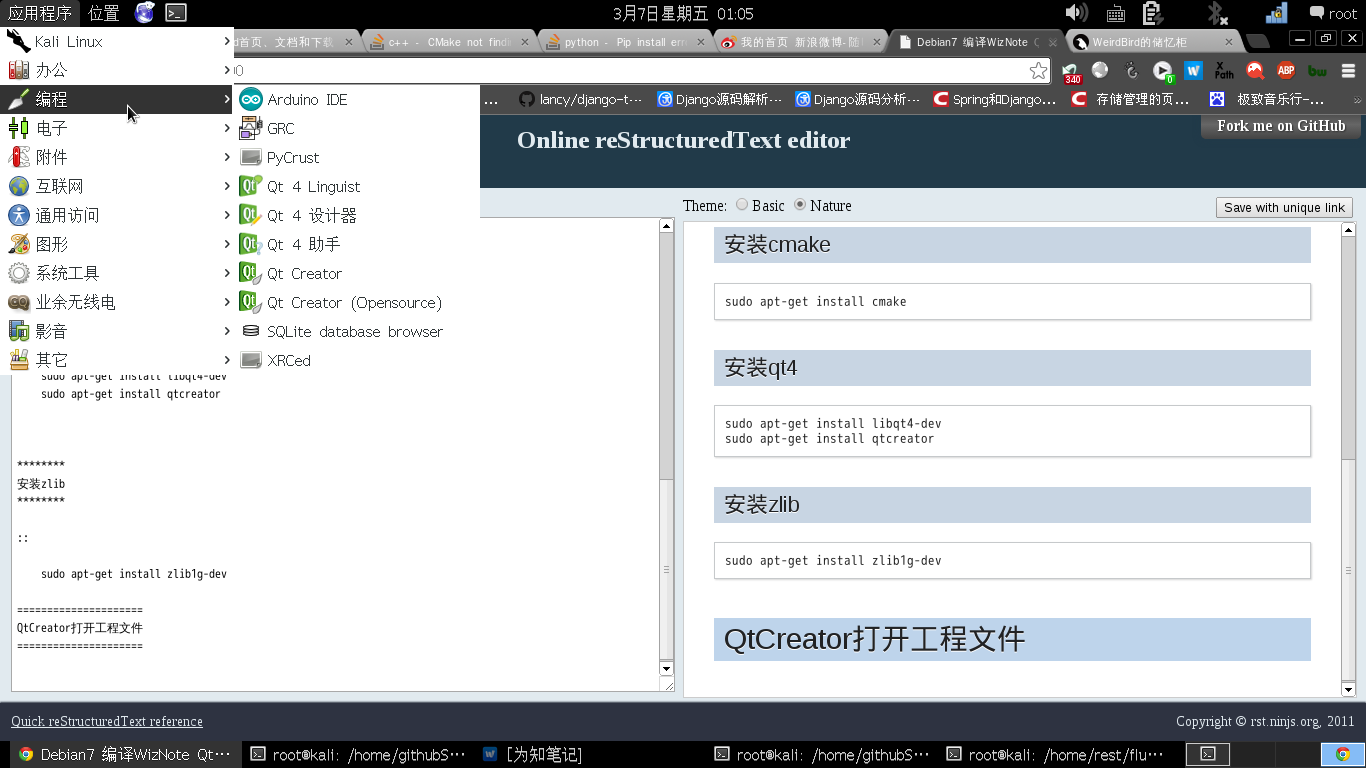
安装cmake
sudo apt-get install cmake
安装qt4
sudo apt-get install libqt4-devsudo apt-get install qtcreator
安装zlib
sudo apt-get install zlib1g-dev
QtCreator打开工程文件
![http://weirdbird.u.qiniudn.com/wz6.png](http://static.oschina.net/uploads/img/201403/07012827_i1fC.png)
![http://weirdbird.u.qiniudn.com/wz7.png](http://static.oschina.net/uploads/img/201403/07012827_HI9R.png)
在cmake参数中,可以输入下面的参数:
-DCMAKE_BUILD_TYPE=Debug
如下图所示
![http://weirdbird.u.qiniudn.com/wz1.png](http://static.oschina.net/uploads/img/201403/07012827_gv0k.png)
然后执行 cmake
执行好后,就可以打开工程。将当前活动工程切换为wiznote ,开始build 了
![http://weirdbird.u.qiniudn.com/wz2.png](http://static.oschina.net/uploads/img/201403/07012827_unDr.png)
build 好后 , 就可以启动了
![http://weirdbird.u.qiniudn.com/wzt.png](http://static.oschina.net/uploads/img/201403/07012828_qEKa.png)
成功,开始同步数据
![http://weirdbird.u.qiniudn.com/wz3.png](http://static.oschina.net/uploads/img/201403/07012828_egZ0.png)
![http://weirdbird.u.qiniudn.com/wza.png](http://static.oschina.net/uploads/img/201403/07012828_jd9i.png)